Getting started with React | Create your first Search Engine using React and Stable Diffusion API: A Step-by-Step Guide
Getting started with React | Create your first Search Engine using React and Stable Diffusion API: A Step-by-Step Guide

Welcome to the world of search engine development! In this tutorial, we’ll be guiding you through the process of creating your first search engine using React and the Stable Diffusion API.
React
A JavaScript library for building user interfaces
Stable Diffusion
Stable Diffusion is a latent text-to-image diffusion model capable of generating photo-realistic images given any text input, cultivates autonomous freedom to produce incredible imagery, empowers billions of people to create stunning art within seconds.
Here is URL: https://lexica.art/api/v1/search?q=apple. We will use it to call Stable Diffusion API
Getting started
Install Node.js:
React is built with JavaScript, and you’ll need Node.js installed on your computer to run React projects. You can download the latest version of Node.js from the official website: https://nodejs.org/ or via your operating system’s package manager.
Set up a React project:
There are a few different ways to set up a React project, but the easiest is to use the command:
npx create-react-app react-appThis will generate a basic project structure for you and save you some time on setup.
Learn the basics of React:
There are plenty of resources available online to help you get started, including the official React documentation: https://reactjs.org/docs/getting-started.html.
Now go to App.js and add following lines of code:
return (
    <div className="App">
      <header className="App-header">
        <p className='title'>Diffuse</p>
        <p className='subtitle'>The Stable Diffusion search engine</p>
        <input id="search_input" type="text" placeholder='Search for an image'></input>
        <button id="search" onClick={() => searchImage()}>Search</button>
        <div id='search_result'></div>
      </header>
    </div>
  );
This will be a basic Frontend for our React App, with one input and search button.
Let’s create a function which will handle search_input ( user prompt ), and sends “GET” request to API.
Firstly install axios:
npm install axiosimport it:
import axios from "axios";Here is a function
const searchImage = () => {
    let prompt = document.getElementById('search_input').value;

    axios.get(`https://lexica.art/api/v1/search?q=${prompt}`)
      .then(res => {
        console.log(res.data);
        for (let i = 0; i < (res.data['images'].length); i++) {
          let image = document.createElement('img');
          image.src = res.data['images'][i]['srcSmall'];
          image.alt = 'img';
          image.id = 'img';
          document.getElementById('search_result').appendChild(image);
        }
      })
      .catch(err => {
        console.log(err);
      })
    }
CSS time!
Let’s make our React App more eye touchable.
Go to App.css and add following lines of code:
.App {
  text-align: center;
  font: inter, sans-serif;
}
.App-header {
  background-color: #27272A;
  min-height: 100vh;
  display: flex;
  flex-direction: column;
  align-items: center;
  justify-content: center;
  font-size: calc(10px + 2vmin);
  color: white;
}

.title {
  font-size: 6rem;
  font-weight: 700;
  margin-bottom: 1rem;
}

.subtitle {
  font-size: 1rem;
  font-weight: 400;
  margin-bottom: 2rem;
}

#search_input {
  background-color: transparent;
  border: white solid 1px;
  outline: none;
  width: 300px;
  padding: 10px 20px;
  color: white;
  margin-bottom: 1rem;
}

#search_result {
  display: flex;
  flex-wrap: wrap;
  justify-content: center;
  margin-top: 2rem;
  width: 100%;
  height: 100%;
  object-fit: cover;
}

#img {
  width: 200px;
  height: 200px;
  object-fit: cover;
  margin: 5px;
}
Congratulations! 🎉
You did it.
Finally run the React App using the following command:
npm startYour app should now be available at http://localhost:3000 in your web browser.
Let’s test it! 🌚
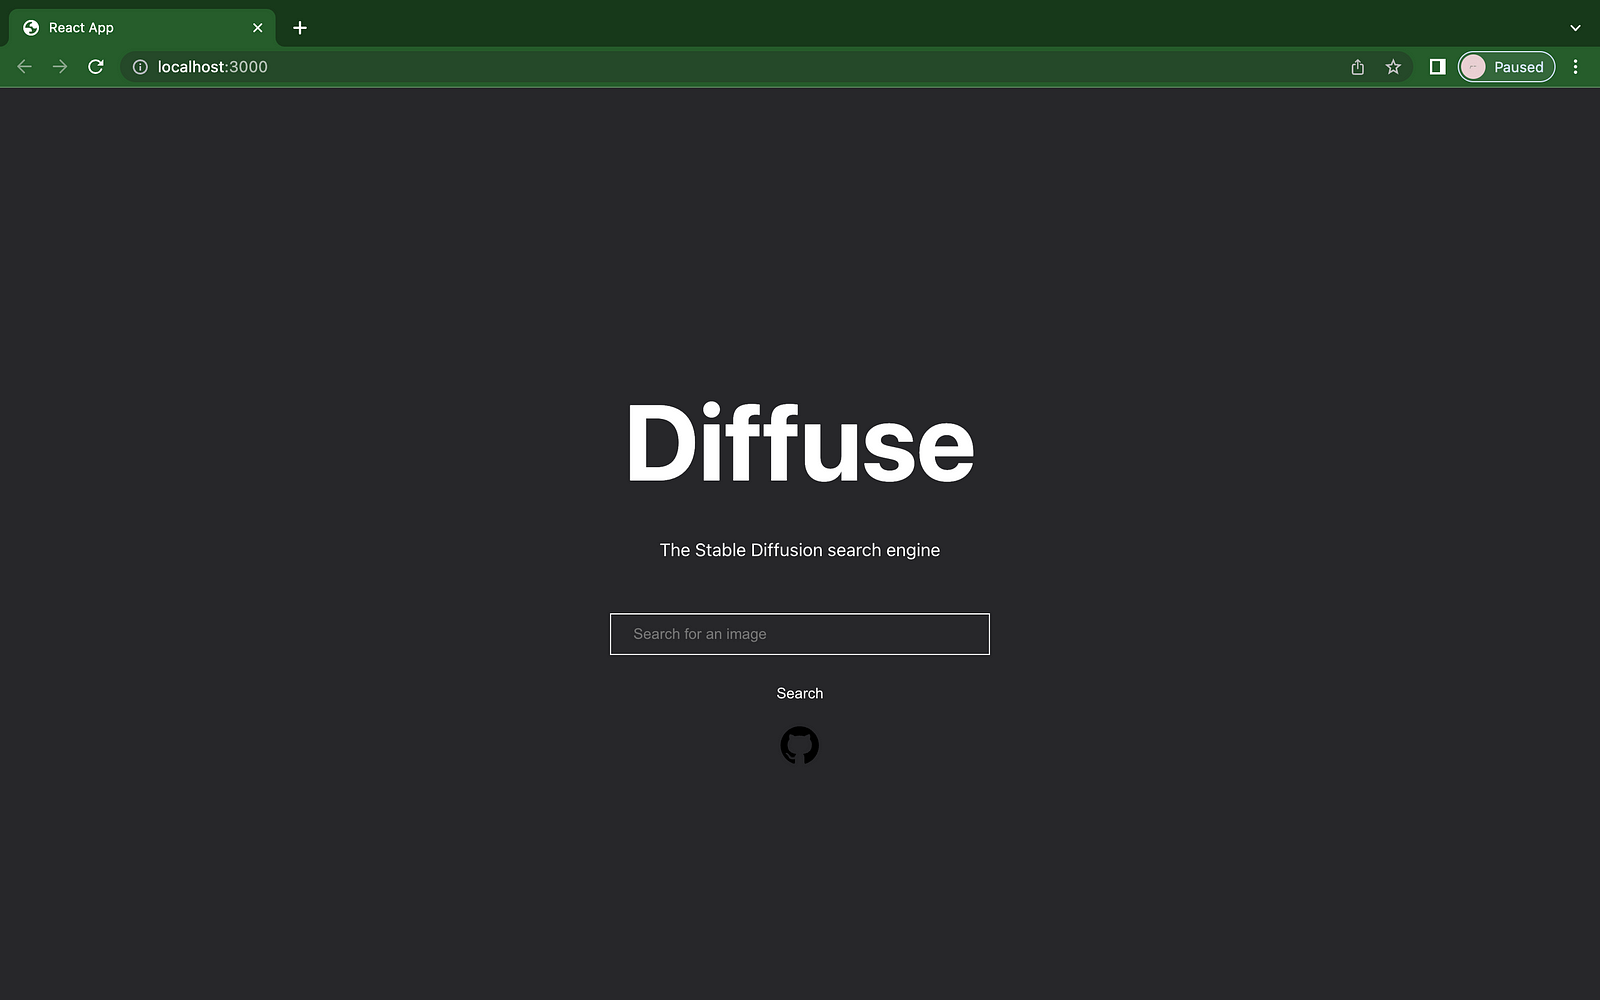
After going to http://localhost:3000 in your web browser, you should see something like this:
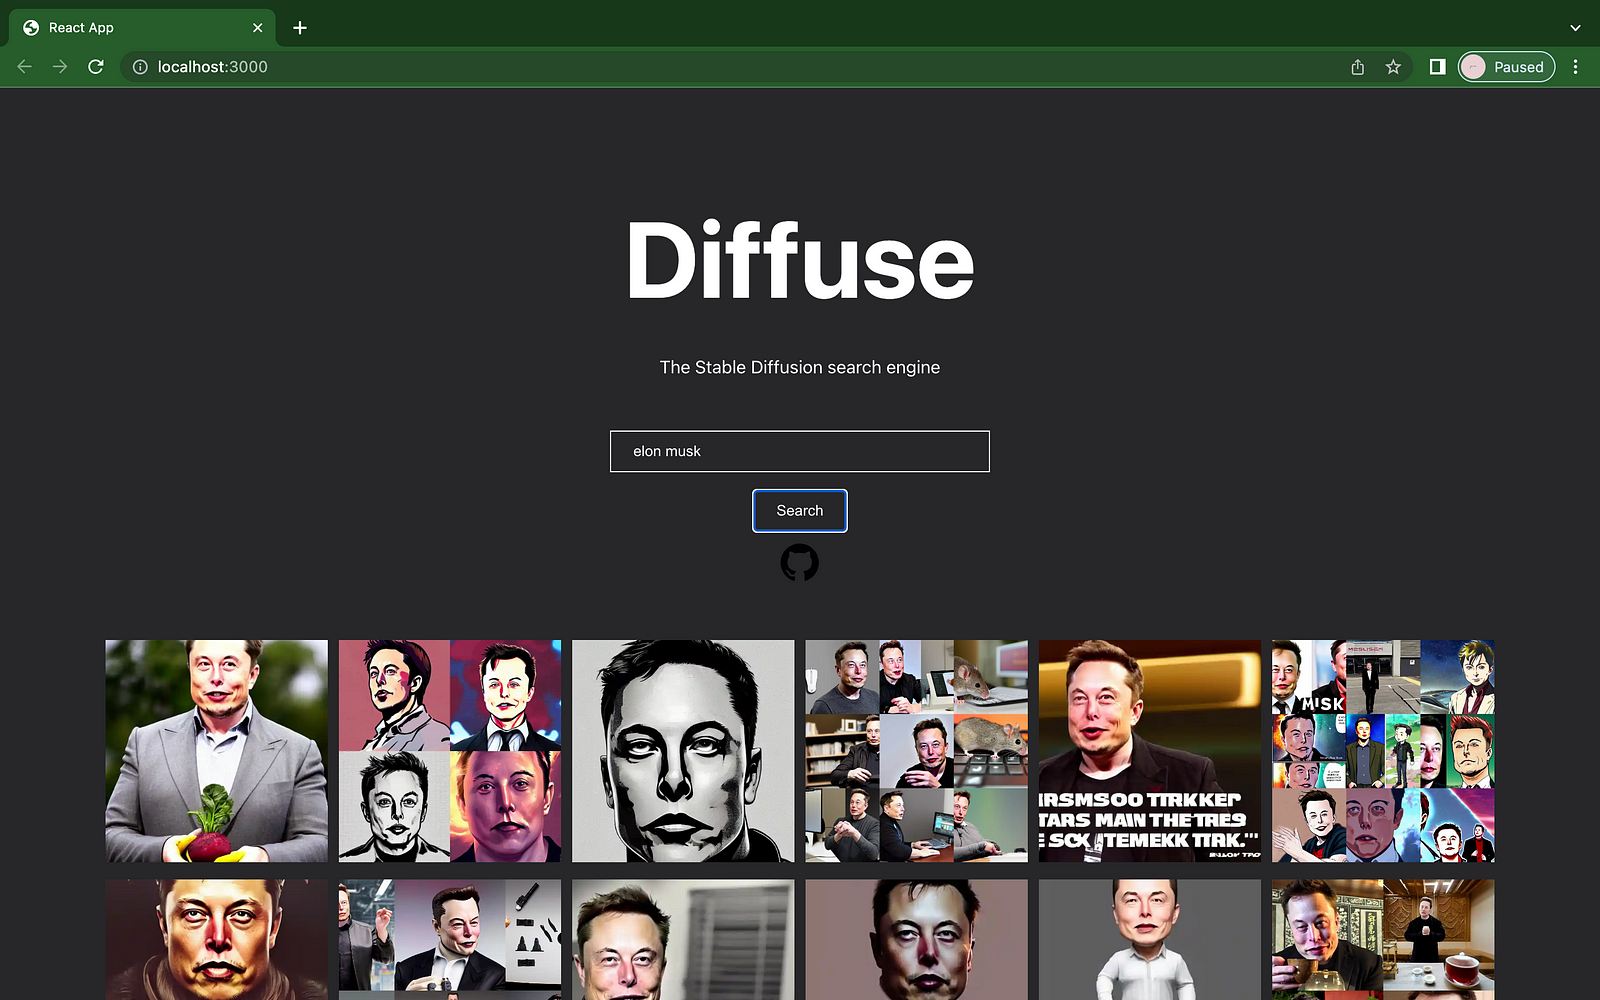
What about searching for Elon Musk’s generated images?
Interesting …


Comments
Post a Comment